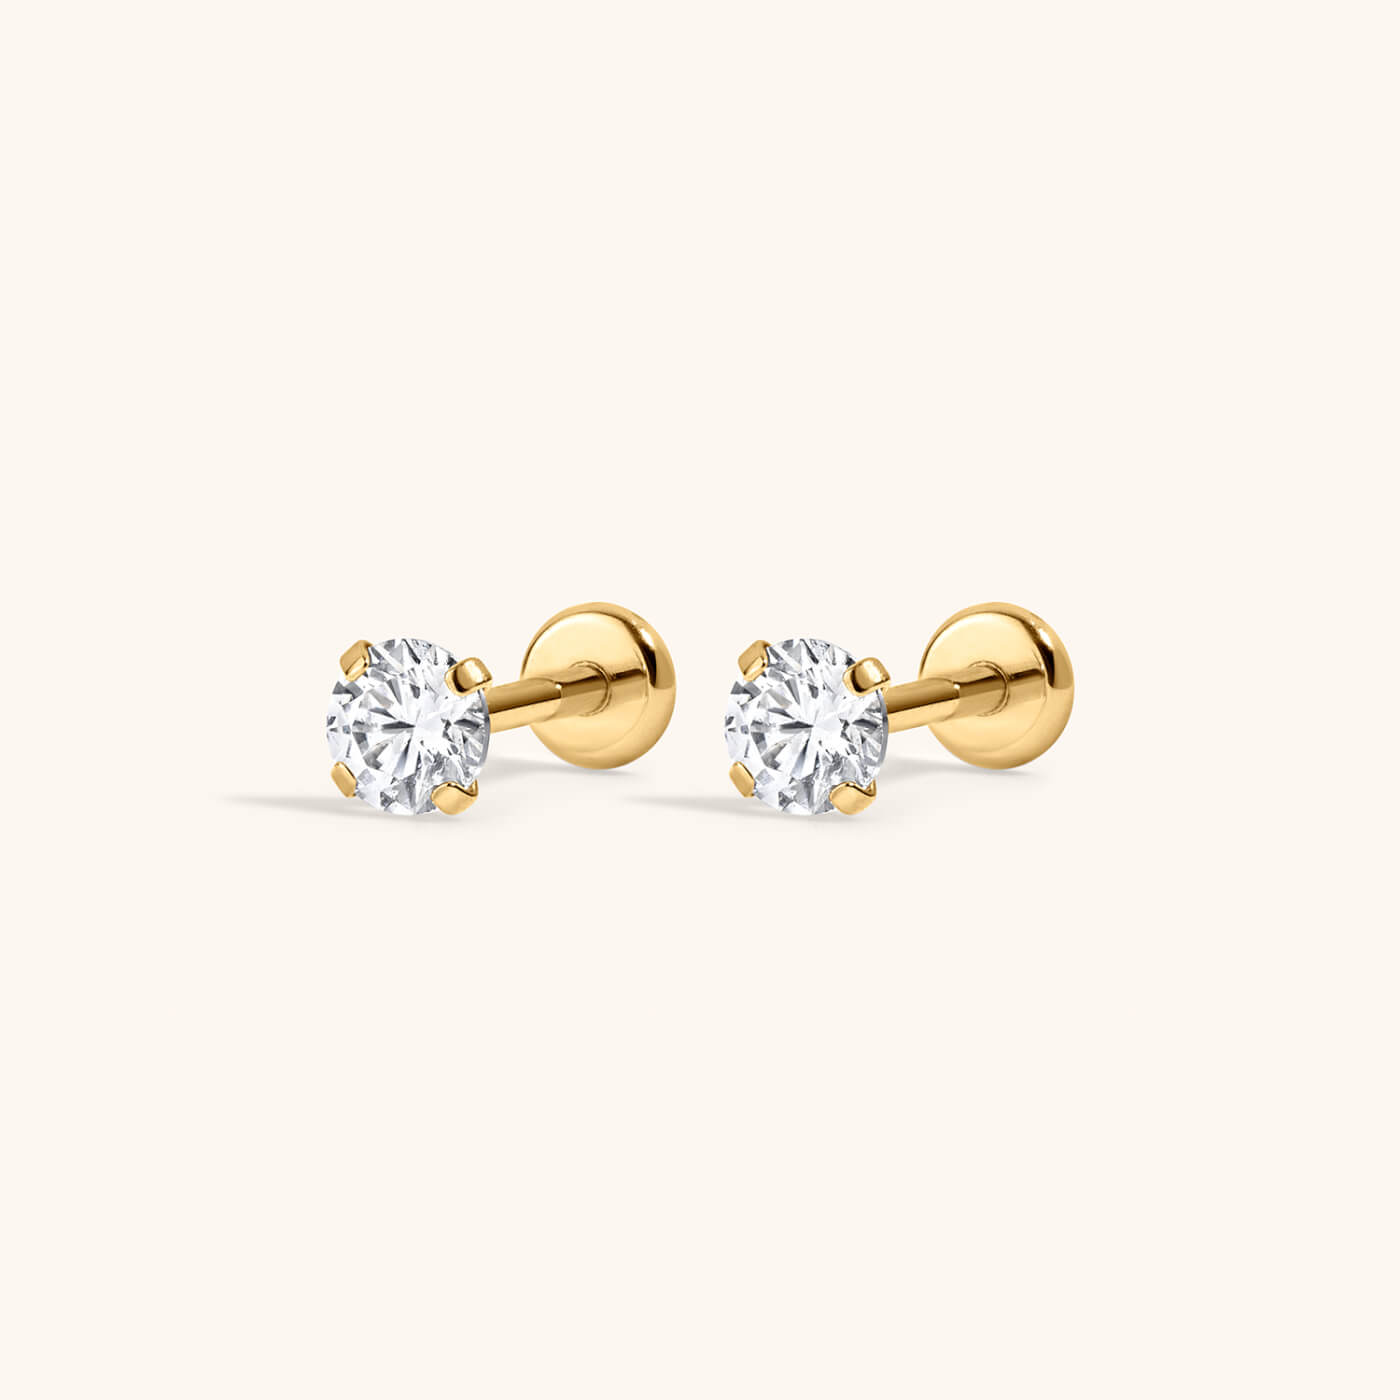
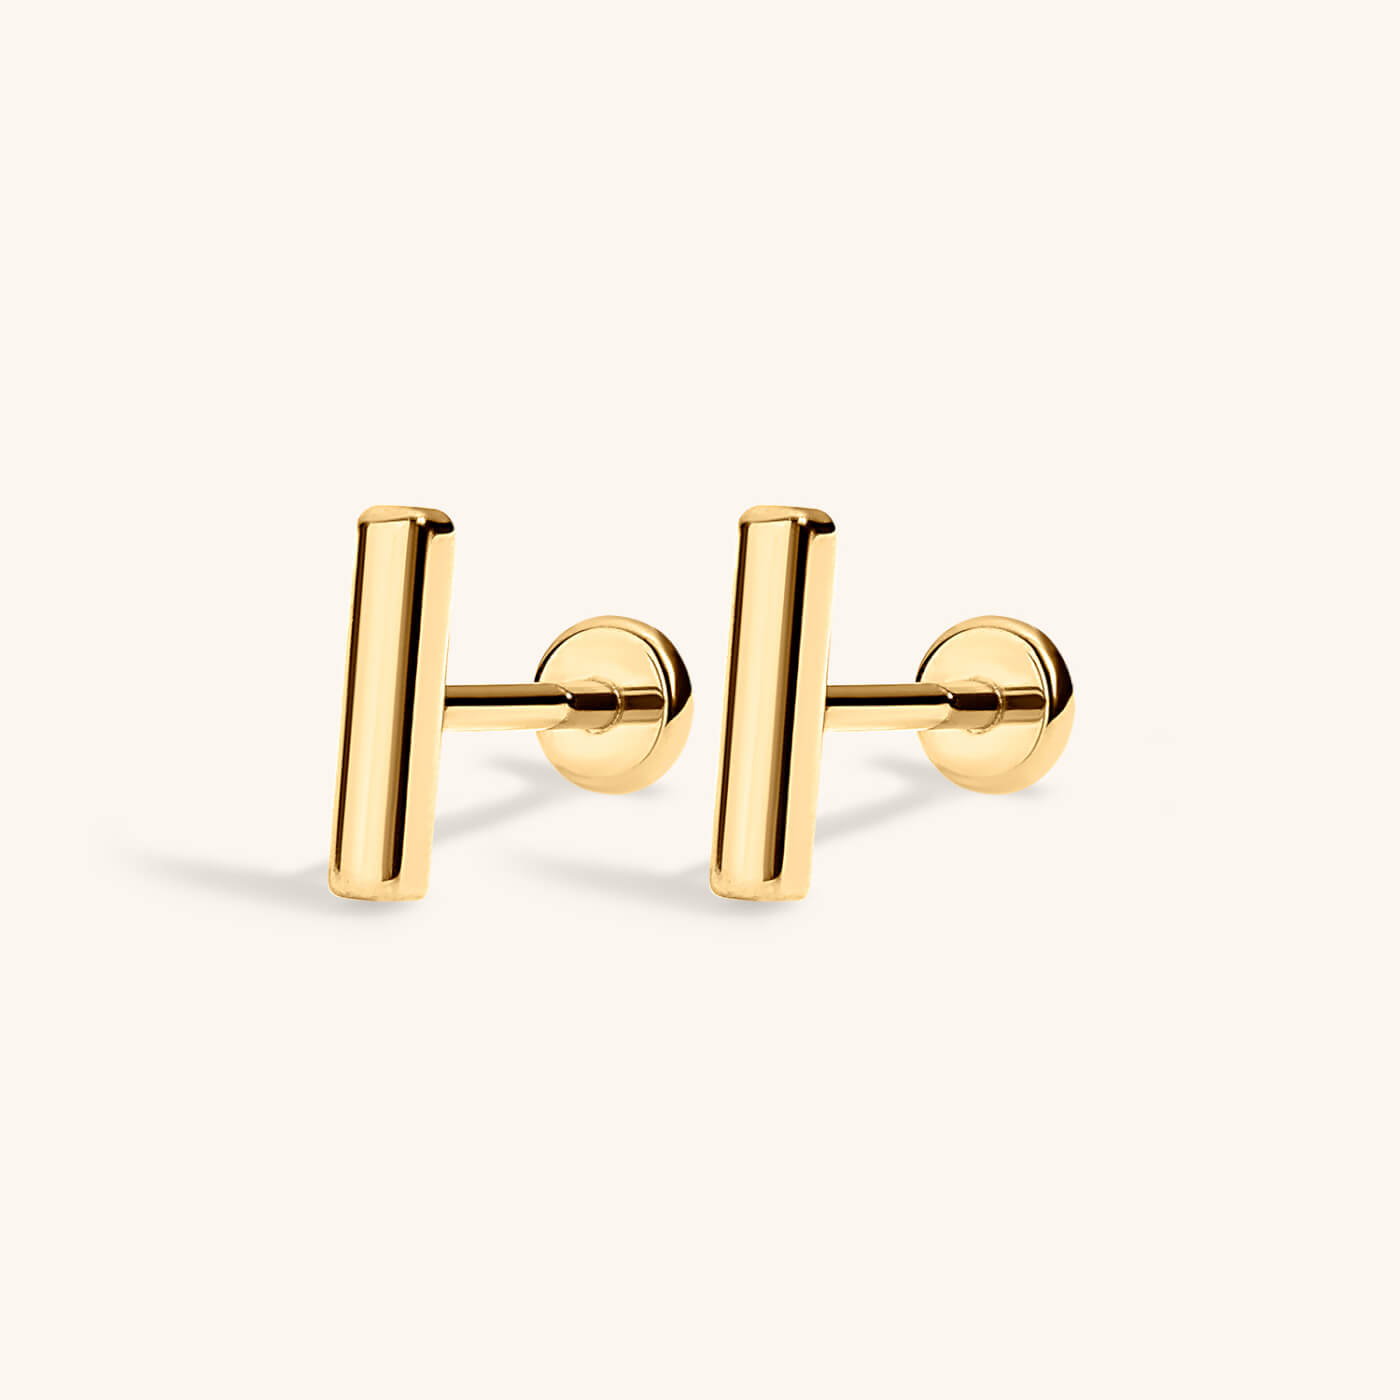
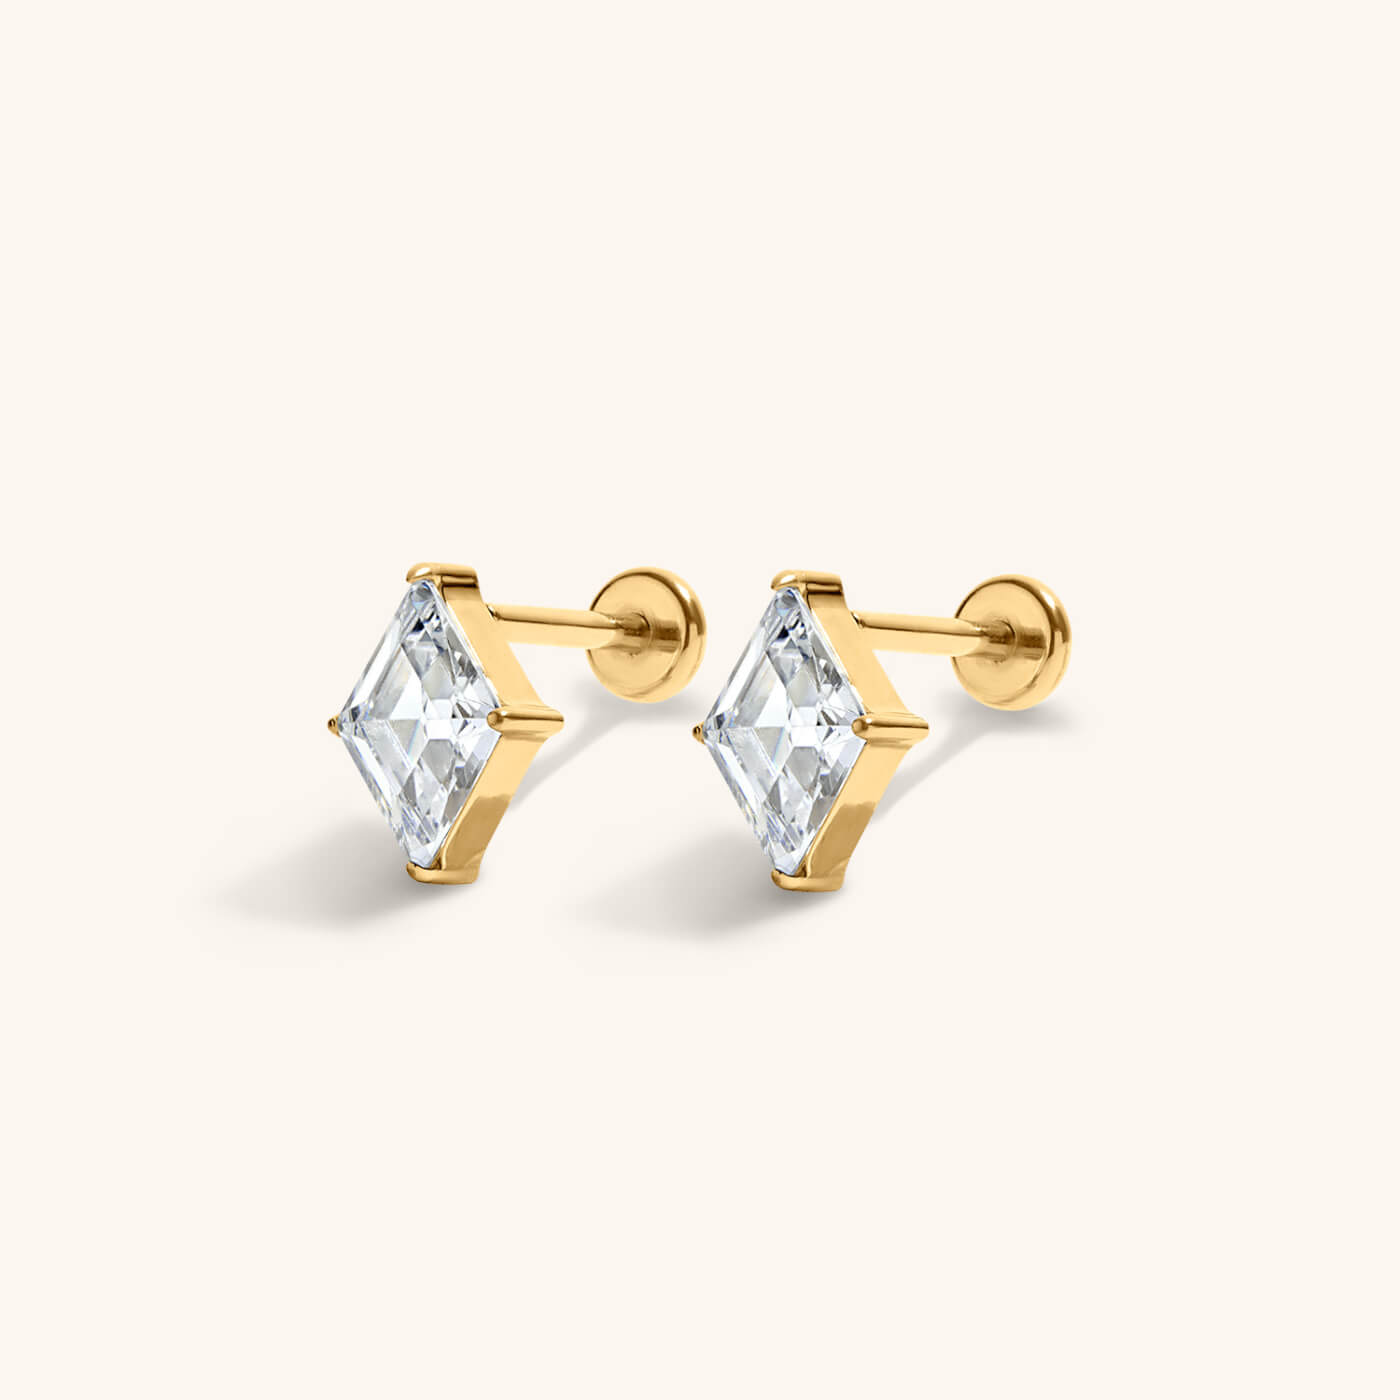
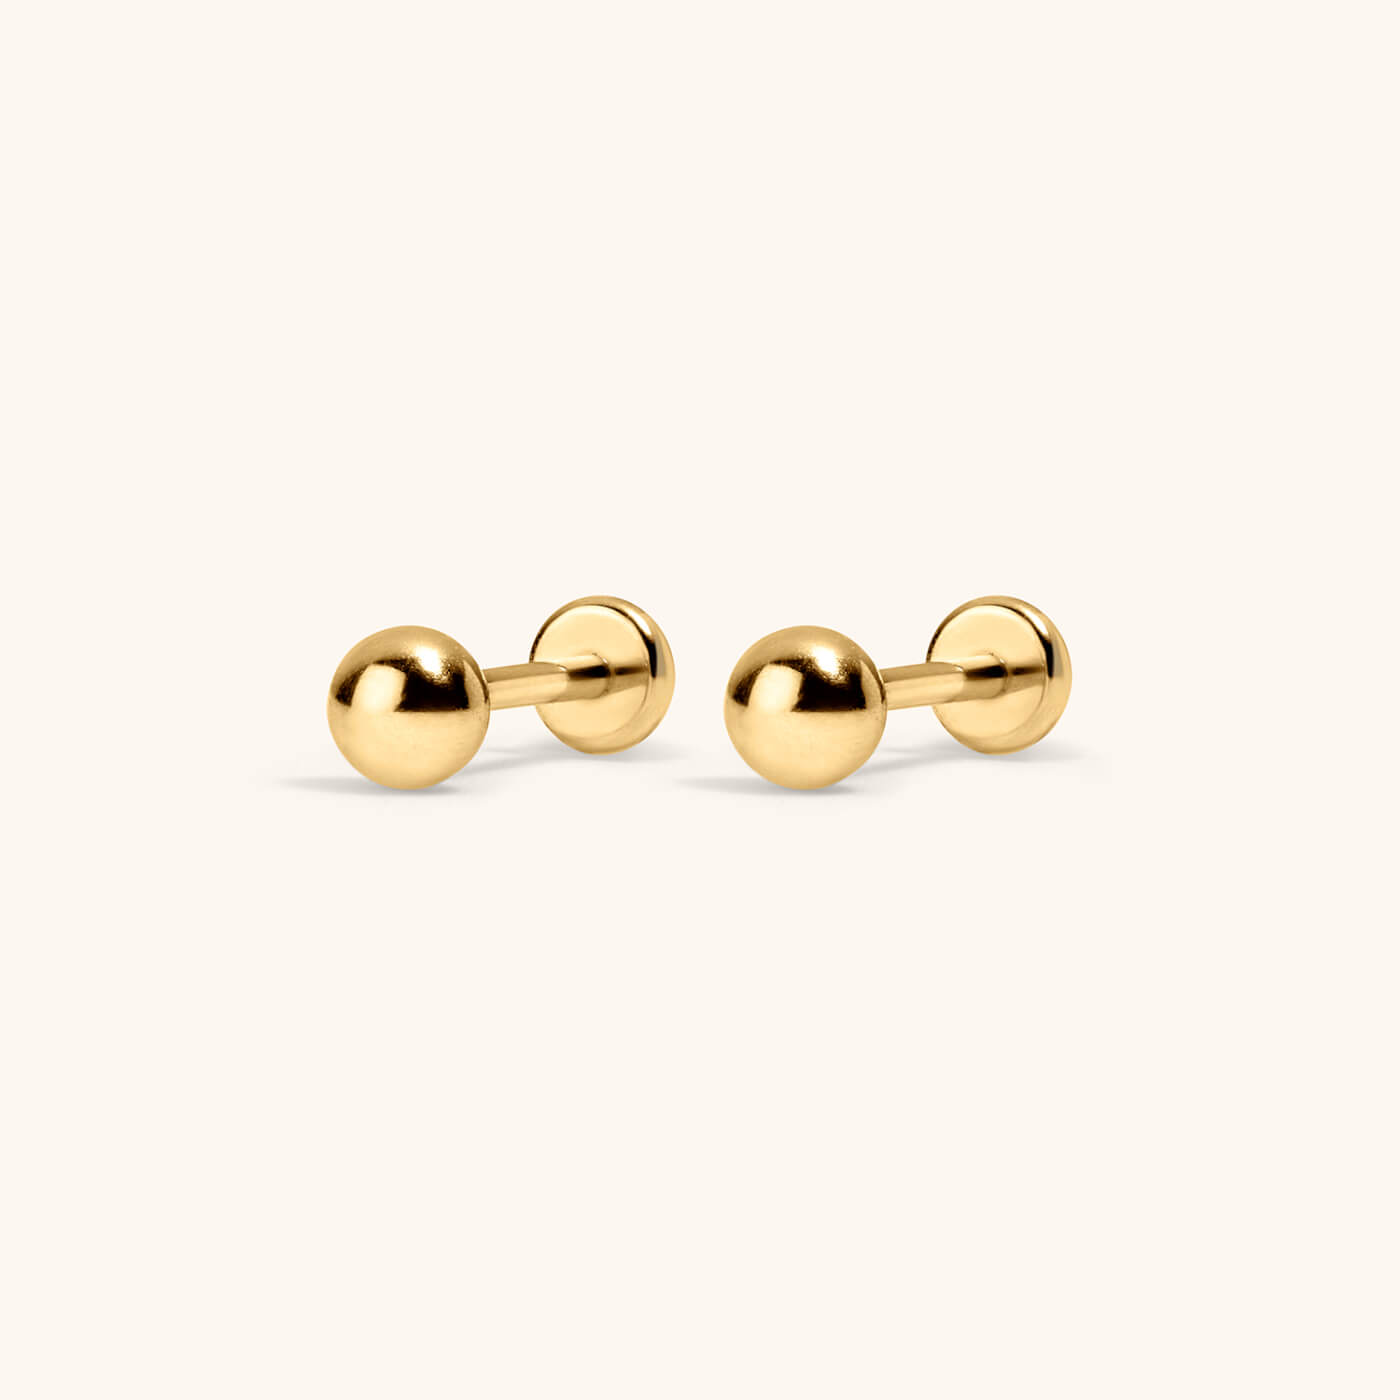
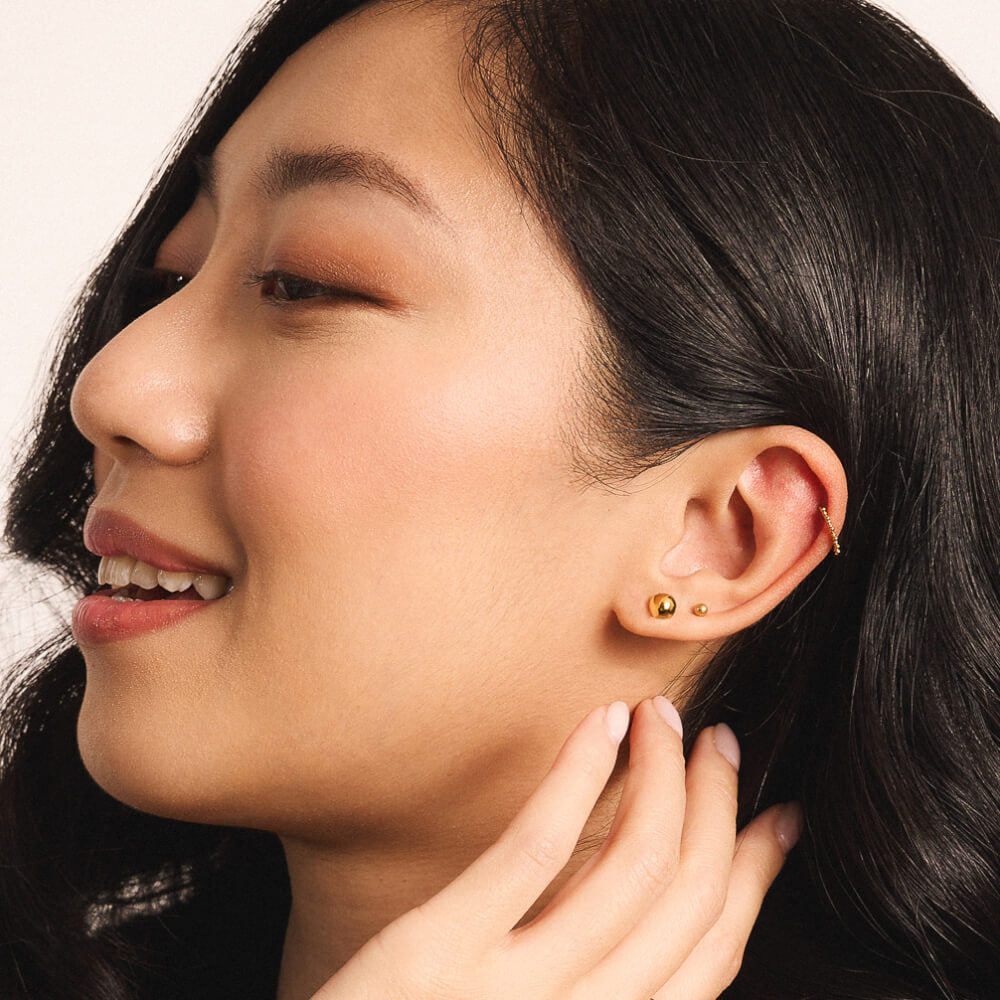
Nap Earrings® 101
Nap Earrings® are flat-back studs made to live in—comfortable all day, even on the most sensitive ears. Here's a quick guide to wearing them.
How to Insert Your Nap Earrings®
Nap Earrings® are different from traditional earrings: you insert them from the back of your ear. Here's how:

Step 1: Separate the earring front from the backing
Each Nap Earring has two parts: a front with a thin pin and a flat back tube.
The pin should have a slight bend — this tension keeps it secure. If it looks straight, insert it into the backing once and gently pull downward to create a subtle curve.

Step 2: Insert the backing from the back of your ear
Guide the flat-back post through your piercing from the back of your ear to the front. This is going to feel backwards because it is—be patient with yourself.
Take your time—especially if the piercing hasn't been used recently.

Step 3: Guide the earring pin into the backing
From the front, align the pin with the hollow backing and gently push it in.
This step takes the most patience. Think of it like threading a needle: steady hands, light pressure. Magnifying mirrors are great for this step.

Step 4: Secure the earring in place
Gently squeeze the two pieces together to make sure the tension hold is secure. You won't hear a click. What you’re looking for is a snug, secure feel.
FAQ
Nap Earrings® rely on tension to hold them in place. If the pin isn’t bent enough, the earring can work its way out over time.
A few tips:
- Before inserting, make sure the pin has a visible bend
- After inserting, gently test them so you know they’re secure
- Periodically check them—especially during the first few days
Nap Earrings® are not adjustable like traditional earrings. The post length determines how they sit.
- Our standard post length is 6 mm
- We also offer shorter and longer posts, and single replacements
- If your earrings droop or don’t sit flush, the post length may not be right for your ear
If you're unsure on sizing, message us - we'll help you find the right post length.
Removal uses the same principle as insertion, just in reverse. The biggest issue people run into is bending the pin too much, which creates a very strong tension hold.
If you're struggling, slow down and don’t force it. Steady the backing with one hand and gently pull the front piece straight out.
Nap Earrings®